I Bought a $398 Sliding Barn Door Kit. Here Is My Install Verdict — and the Sizing Math.
For two years, my laundry room had no door at all. The old hollow-core slab got ripped off its hinges during a move — the movers took it down to squeeze the washer through, and the hinge screws stripped out of the frame on the way back up. A swinging replacement would have eaten a full 36-inch swing arc straight into the hallway traffic lane. The answer was obviously a sliding barn door kit — but “obviously” only works if you measure first. I bought the CRAZY ELF 36″ x 80″ primed door slab plus full hardware combo from FLNORW MALL for $398, hung it on a Saturday, and lived with it for weeks before writing this. Here is the whole accounting: what the box actually holds, the three measurements that decide everything, the honest install timeline, and whether a $398 all-in-one kit beats buying a slab and hardware separately.
What is actually inside a sliding barn door kit: the box inventory
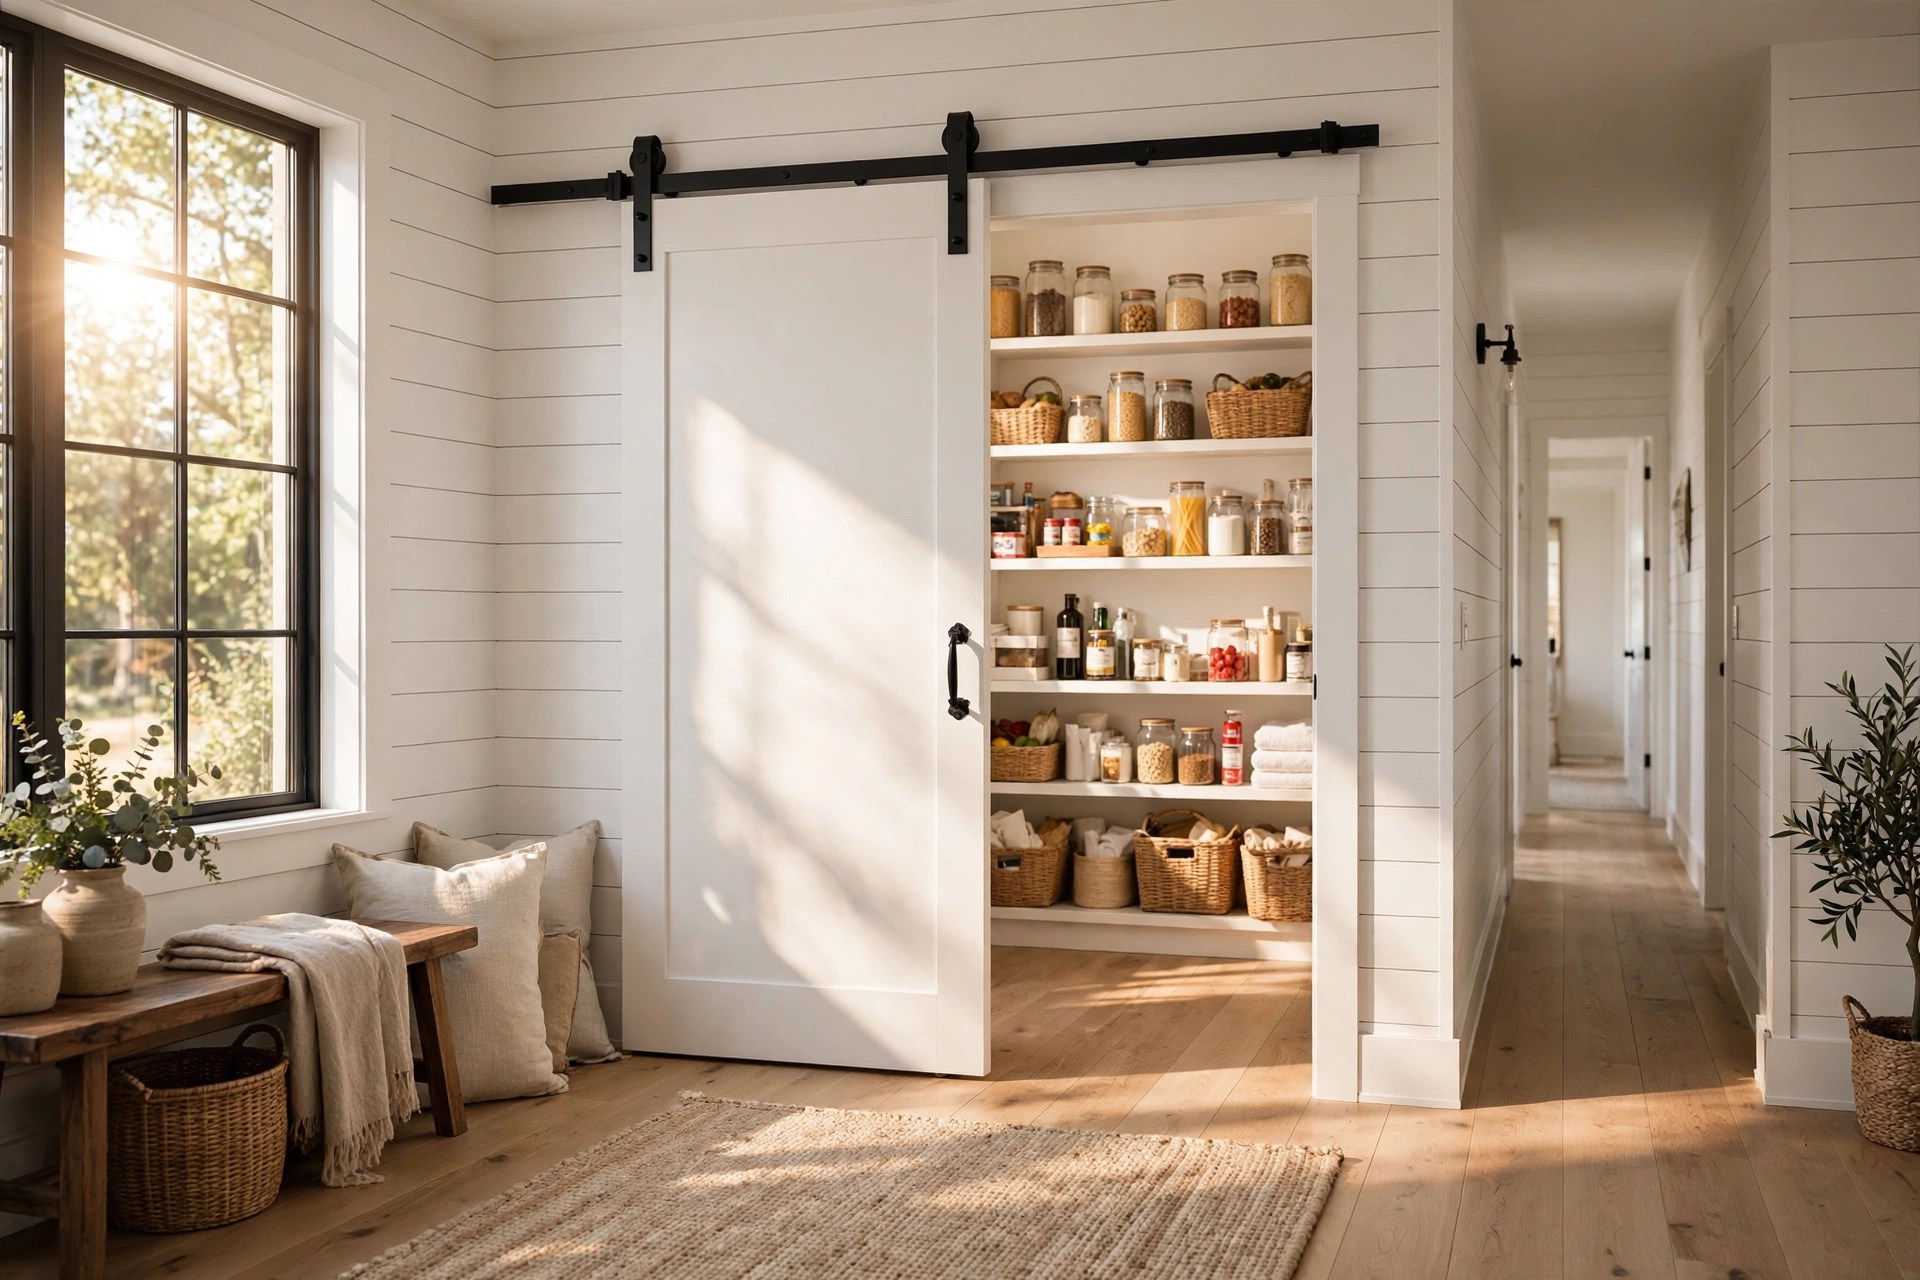
Everything in one box — that is the pitch. The FLNORW MALL combo (item code W936S00035) shipped as two parcels: the door slab at 81.8 x 12.2 x 5.51 inches and 62.9 lbs, and the hardware box at 40.55 x 3.54 x 3.54 inches and 16 lbs. The inventory:
- 1x primed door panel — 36″ x 80″, MDF core, star-style paneled face, white triple-primer finish, assembled weight 74 lbs
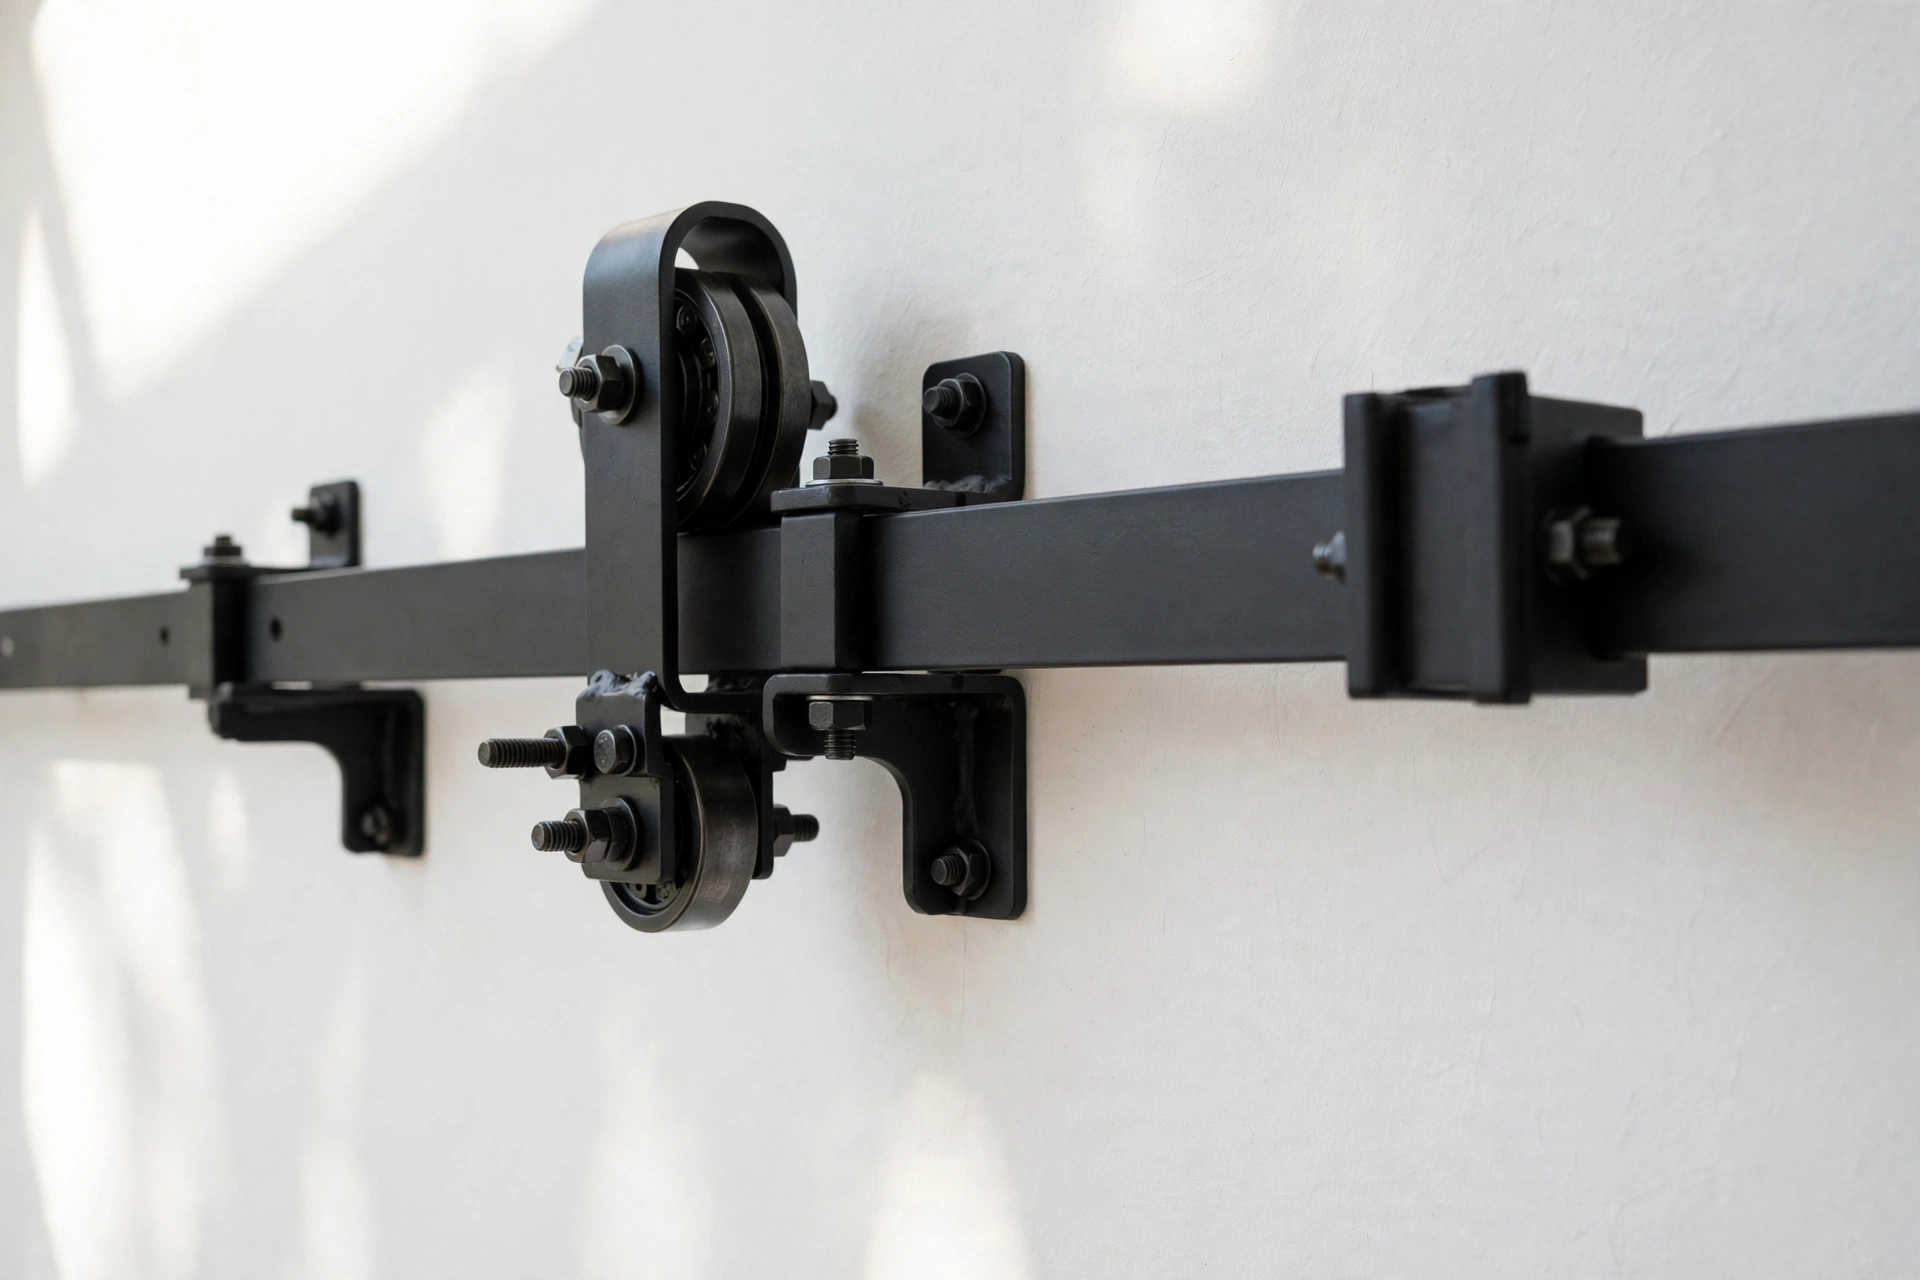
- 1x 6.6FT two-piece sliding rail — two 3.3FT sections that join end to end
- 5 rail brackets, 2 J-shaped hangers, 2 door stops, 2 anti-jump discs
- 1x adjustable T-shaped floor guide with anchors
- 1x pull handle plus illustrated instructions
The packaging deserves a mention: a cardboard box outside, a bubble bag with a metal-paper protective layer inside. The 62.9-lb slab arrived without a single corner ding, which — having received furniture freight before — I did not take for granted.
The three measurements that decide everything (the sizing math)
Every barn-door regret thread I have read online starts with the same sentence: “I ordered the wrong size.” Three numbers prevent that:
- Door width vs opening width. A sliding door overlaps the opening by 1-2 inches on each side, because it parks beside the doorway instead of inside it. A standard US interior doorway is 36 inches wide, so the ideal door is 38-40 inches — the sizing guide at knowledgeburrow.com says to add about 2 inches to the opening width. My laundry opening measured 34 inches, which made the 36″ x 80″ barn door a near-perfect fit: 1 inch of overlap per side. If your opening is a full 36 inches, size up to a 38 or 40-inch door instead.
- Track length. Rule of thumb: twice the door width, plus 4-6 inches. For a 36-inch door that is 76-78 inches minimum. This kit’s 6.6FT rail is 79.2 inches — it clears the math with room to spare, so the door parks fully clear of the opening instead of covering half of it when open.
- Clearance above the door. You need a minimum of 5 inches from the top of the door to the ceiling or crown molding for the hangers and rail to mount. The product page states this explicitly, and the same sizing guides cite 5-7 inches for typical hardware. Measure before you buy — low ceilings with tall crown molding are the one place these kits quietly fail.
Why I picked a primed door instead of pine or PVC
The door face is MDF with three coats of white primer, and the product page is unusually specific about what each coat does: the first for a smooth surface, the second for waterproofing, the third for appearance, over an anti-corrosion-treated core. That matters in a laundry room, where steam is a fact of life. Raw pine swells and can mold in damp air; PVC-wrapped doors peel at the edges when heat cycles them. A primed barn door is not a finished look — it is a paint-ready surface. I rolled on two coats of semi-gloss white on a Saturday afternoon, one roller tray, and the finish looks factory. If you want the rustic farmhouse slab look, skip this kit and buy a pine door. But for a room with moisture, the moisture-proof primed construction is the rational pick.
Install day: the honest timeline
I am reasonably handy — I have hung shelves and swapped faucets — and I would call this a solid intermediate-afternoon job, not a beginner’s first project. My timeline, with the door painted the weekend before:
- Unbox, inventory parts, read instructions twice: 25 minutes
- Mark stud locations and level the rail: 40 minutes — this is the step that decides everything
- Drill, mount brackets, hang door on J-hangers: 35 minutes
- Set stops, anti-jump discs, floor guide, handle: 30 minutes
- Test, adjust, re-tighten: 20 minutes
Total: about 2.5 hours of install, plus paint time a week earlier. The rail must land in studs or solid blocking — drywall anchors alone will not hold a 74-lb door plus its dynamic load. If your doorway has no studs where the brackets fall, a 1×4 backer board screwed into studs first is the standard fix, and it gives the rail a flat mounting surface.
The two fiddly parts nobody warns you about
First, the floor guide. The T-shaped guide keeps the door from swinging out against the baseboard, but it has to sit exactly on the door’s bottom travel line — off by a quarter inch and the door chatters instead of gliding. I mounted it last, with the door already hung, and tested the slide three times before drilling. Second, the anti-jump discs: these little round discs sit on top of the door and stop it from being lifted off the rail, but only after you rotate them into position. Install them and forget to rotate, and the door can still hop. The two rubber-capped door stops slide anywhere along the rail and tighten down, which lets you set exactly how far the door travels so it parks fully clear of the opening without slamming the end bracket. One maintenance note I borrowed from my own furniture habits: re-tighten the rail screws after the first month of daily sliding, same as any barn door hardware kit with this much moving mass.
The cost math: $398 kit vs slab and hardware bought separately
Here is the comparison I ran before buying, with prices I checked this week (rounded, USD unless noted, conversions flagged as my estimates):
- The $398 combo: door slab + full hardware kit + floor guide + handle, one box, matched sizing — the 6.6FT rail is already sized for the 36-inch door.
- Slab only: a comparable primed slab ran about $315 CAD (roughly $230 USD at 2026 rates — my estimate) at Home Hardware, with no hardware at all.
- Hardware only: the National Hardware 72-inch interior barn door hardware kit was $187.49 on sale / $309.99 regular at Stine Home + Yard, and similar kits run $150-300 on Amazon.
Buying slab and hardware separately lands around $380-540 depending on the kit you pick — and you still have to confirm the rail fits the door’s thickness and weight yourself. The $398 combo undercuts the separate-buy route by roughly $15-140 (my rough math) while removing the compatibility guesswork entirely. It also beats the step-up options: double-door and concealed-track sets on Amazon run $800-1,259, if you only need one doorway covered. One honest caveat: this is a basic J-hanger rail, not a soft-close concealed system. Concealed barn doors with soft close cost 2-3x more for the silence. I do not regret the basic rail in a laundry room, but I would spend more for a nursery or bedroom door.
Five rooms where this sliding barn door kit earns its keep (and two where it does not)
The product page suggests kitchens, bathrooms, corridors, bars, and cafes. From living with one, my list:
- Laundry room — the obvious one: steam-proof primed face, no swing arc eating the hallway.
- Pantry — where a swinging door collides with the fridge door arc.
- Home office nook — closes off the desk zone for video calls.
- Hall closet — replaces a bifold that always derails.
- Bathroom — privacy plus zero floor swing, with the gap caveat below.
Where it does not work: anywhere you need a real seal. A surface-mounted sliding door leaves visible gaps around the panel that let sound and light through — the barn door parts guide at rustica.com is explicit that a lock adds a closing function but does not seal those gaps, so skip it for a bedroom facing a loud living room. And skip it for any wall without roughly 40 inches of clear parking space beside the opening: furniture, light switches, and trim all count, because the door parks on the wall, not in it.
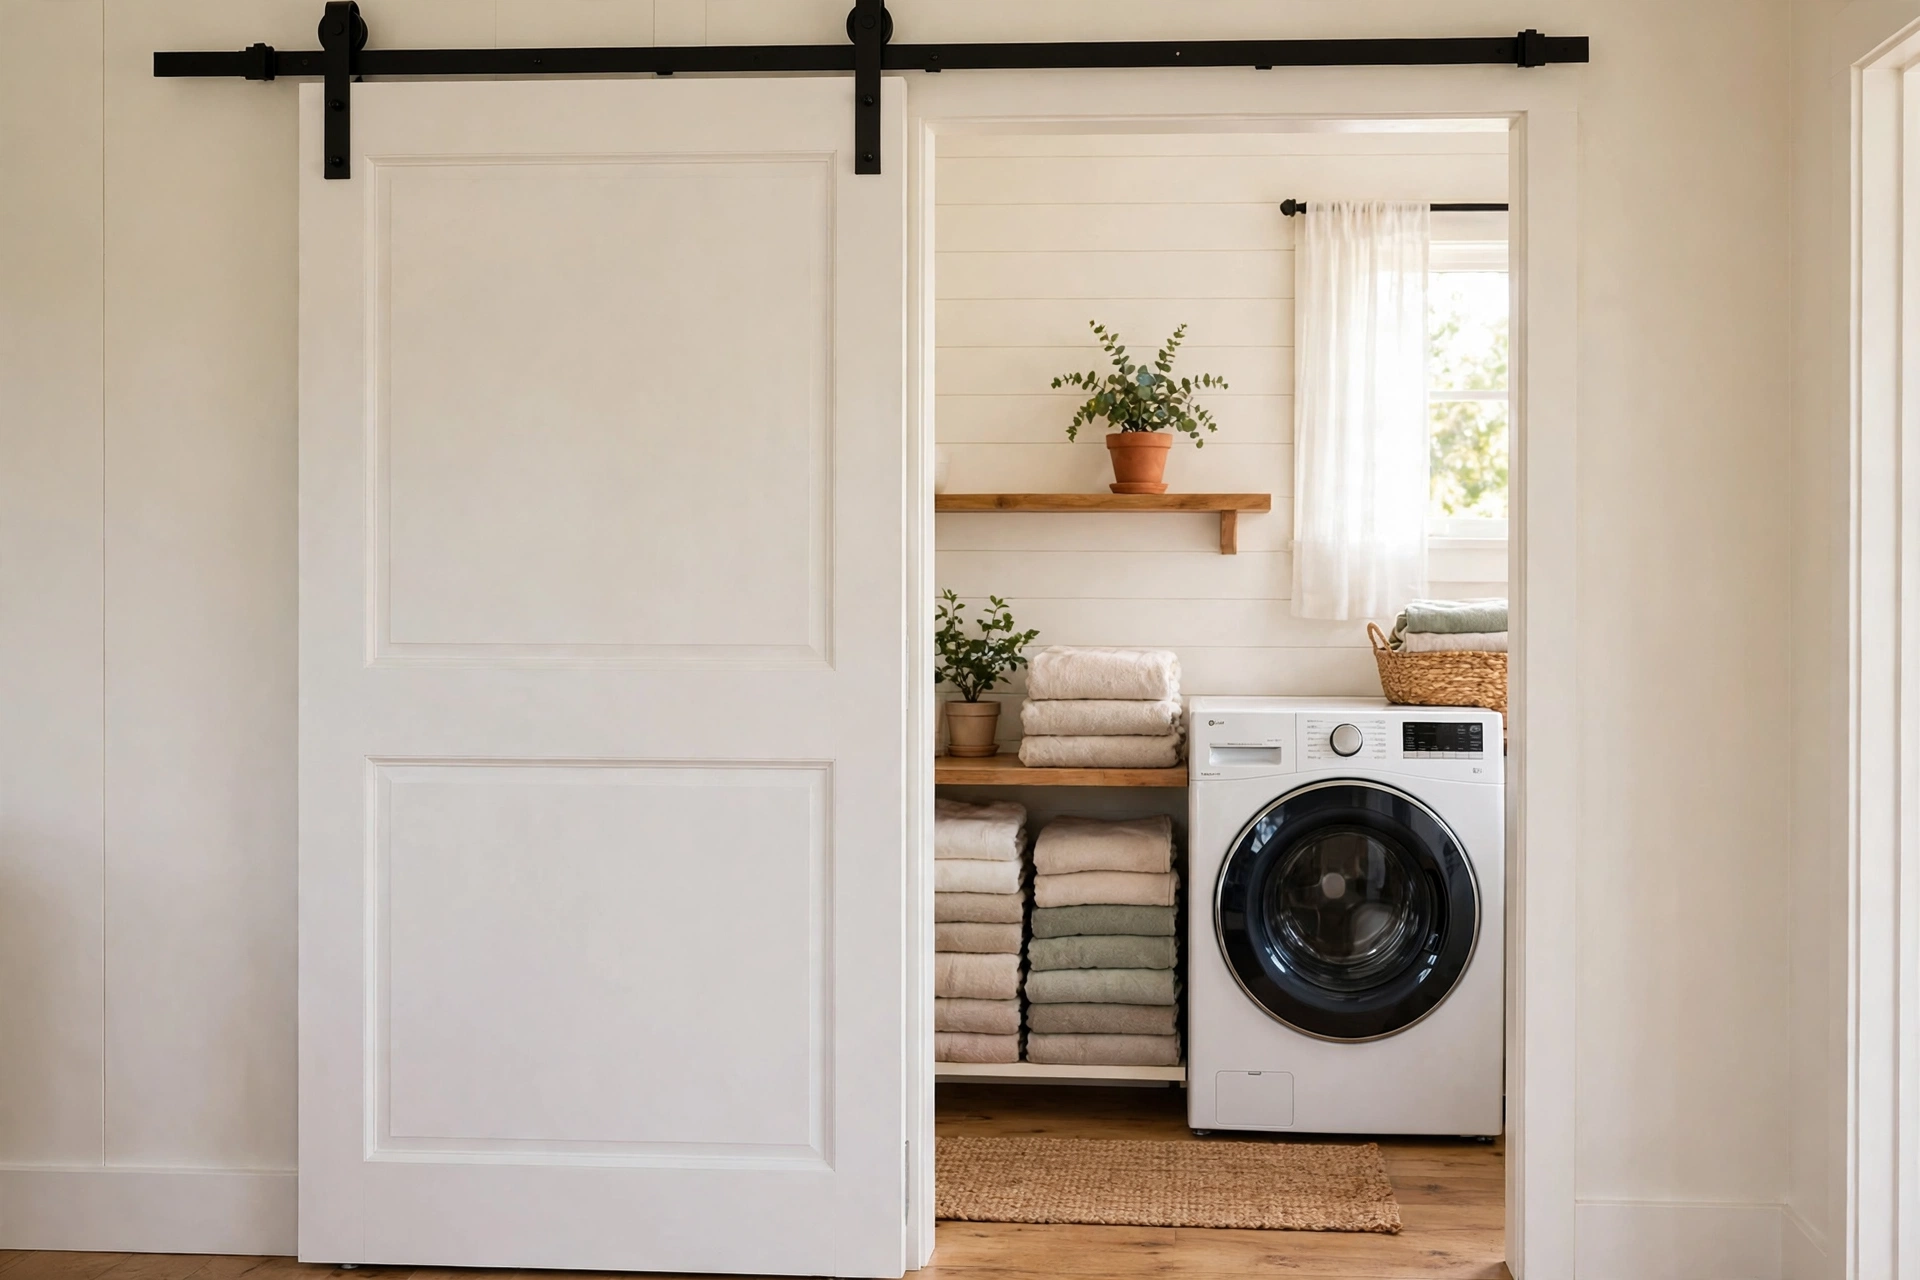
I keep coming back to one number: the doorless laundry room used to leak dryer warmth and detergent smell into the hallway every single load. Total fix cost $398, about 2.5 hours of my Saturday, and a roller tray of paint I already owned. The sliding barn door kit did what a $1,200 reframe-and-hang job would have done, for a third of the money — as long as you take the three measurements first.
Verdict: measure twice, buy the kit once
Three weeks in, the door glides one-handed, the stops hold their position, and the painted primer face looks like it cost twice the price. The kit earns its keep on three facts: the 36″ x 80″ barn door sizing is right for standard US interior openings, the 6.6FT rail actually covers the full travel, and $398 for slab plus complete hardware is cheaper than assembling the same thing piecemeal. Measure the opening, check the 5-inch clearance, find the studs — do those three things and the install is a calm Saturday. Skip them and it is a return label.
Get the CRAZY ELF 36″ x 80″ Sliding Barn Door Kit — $398 at FLNORW MALL
If the barn-door look has you hooked, the same farmhouse vibe works as furniture: my review of the farmhouse coffee bar cabinet with sliding barn doors covers the $199 version that lives in my kitchen. And for everything else in the house, FLNORW MALL keeps the full furniture catalog in stock.