I Tried 6 Ways to Remove Scratches From Wood Furniture. Here’s What Actually Worked.
I found the first one on a Saturday morning: a pale, ugly scratch across the top of my dining table, about three inches long, sitting right where the morning sun hit it. My daughter’s toy dump truck had spent Friday evening driving laps across it while she “delivered groceries.” I stood there with my coffee and felt a genuine wave of irritation — this table wasn’t cheap, and now it looked wounded.
That scratch sent me down a three-week rabbit hole to learn how to remove scratches from wood furniture properly. I bought every product under $20 that promised a fix, tested each one on scrap wood first, then on the real thing, and kept honest notes. Here is the whole playbook, ranked from easiest to most involved, with real costs and no sugarcoating.
First, Know What Kind of Scratch You Are Dealing With
Not all scratches are the same, and the fix depends on which type you have. There are really only three:
- Finish-only scratches. The scratch sits in the clear coat on top. It looks light or hazy but you cannot feel it with a fingernail. These often buff out.
- Scratches into the stain or color. You can feel a slight groove, and the scratch looks lighter or darker than the wood around it. These need color put back.
- Deep gouges. The scratch went through to bare wood and your fingernail catches hard. These need filling plus color.
Your material matters just as much. On solid wood you can sand and refinish with confidence, because there is real wood all the way down. On veneer or MDF, the pretty wood layer is paper-thin — sand too aggressively and you will go straight through it, which is worse than the scratch. I wrote a whole comparison of solid wood vs MDF furniture if you are not sure what you own.
The Fingernail Test Every Wood Furniture Owner Should Know
Run your fingernail across the scratch, perpendicular to it. If your nail glides over without catching, you are dealing with a finish-level scratch — the easiest kind. If it catches slightly, the scratch reached the color layer. If it stops your nail dead, it hit bare wood.
Before you touch anything: wipe the area with a damp microfiber cloth and let it dry completely. Dirt and polish residue will ruin a repair. And always test your repair method on a hidden spot first — the underside of a table apron or the back of a leg. My test spot was underneath my $228 farmhouse coffee table, which has survived three years of my kids and still looks good.
One more tip I wish I had followed: take a phone photo of the scratch before you start. You will not remember how bad it was, and the “before and after” is the only honest way to judge your work.
Method 1: Furniture Touch-Up Markers — My $6 Fix
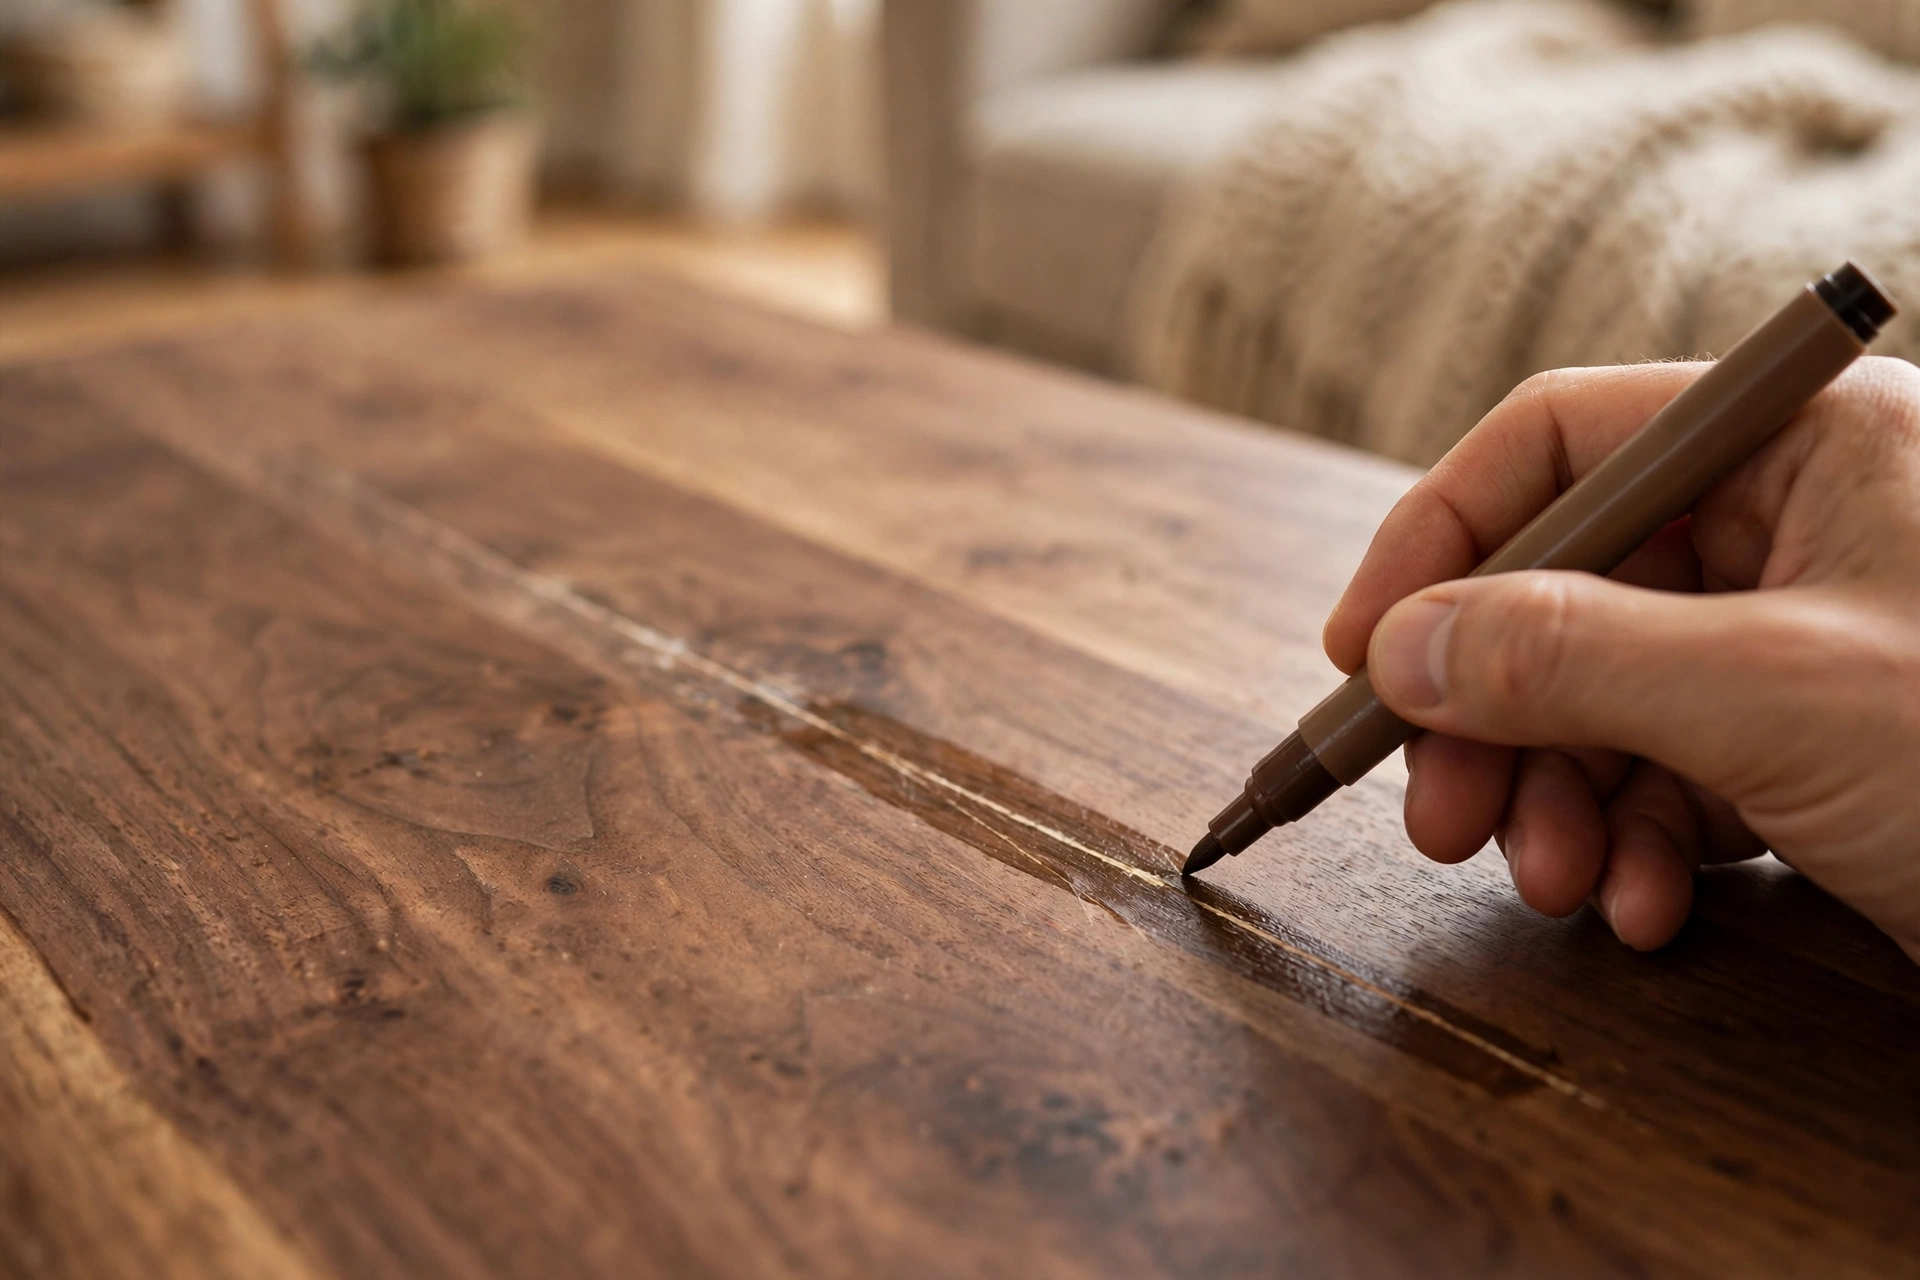
A three-pack of furniture touch-up markers cost me $6 and fixed about eighty percent of the scratches in my house. The technique matters more than the product:
- Match the color to your wood, going one shade lighter rather than darker if you are between two options. Dark markers look like ink; light ones blend.
- Draw along the scratch, not across it, in short light strokes.
- Build it in two thin passes rather than one heavy one, letting each pass dry for a minute.
- Wipe the surrounding area immediately with a dry cloth so excess color does not tint the good finish.
These markers handled the three-inch dining table scratch and the scuffed edges of my coffee table perfectly. They work best on shallow-to-medium scratches where the underlying wood tone is still close. That $6 pack rescued a $228 table — a thirty-eight-to-one return. If you only buy one thing from this list, buy the markers.
Method 2: Wood Repair Crayons for Scratches You Can Feel
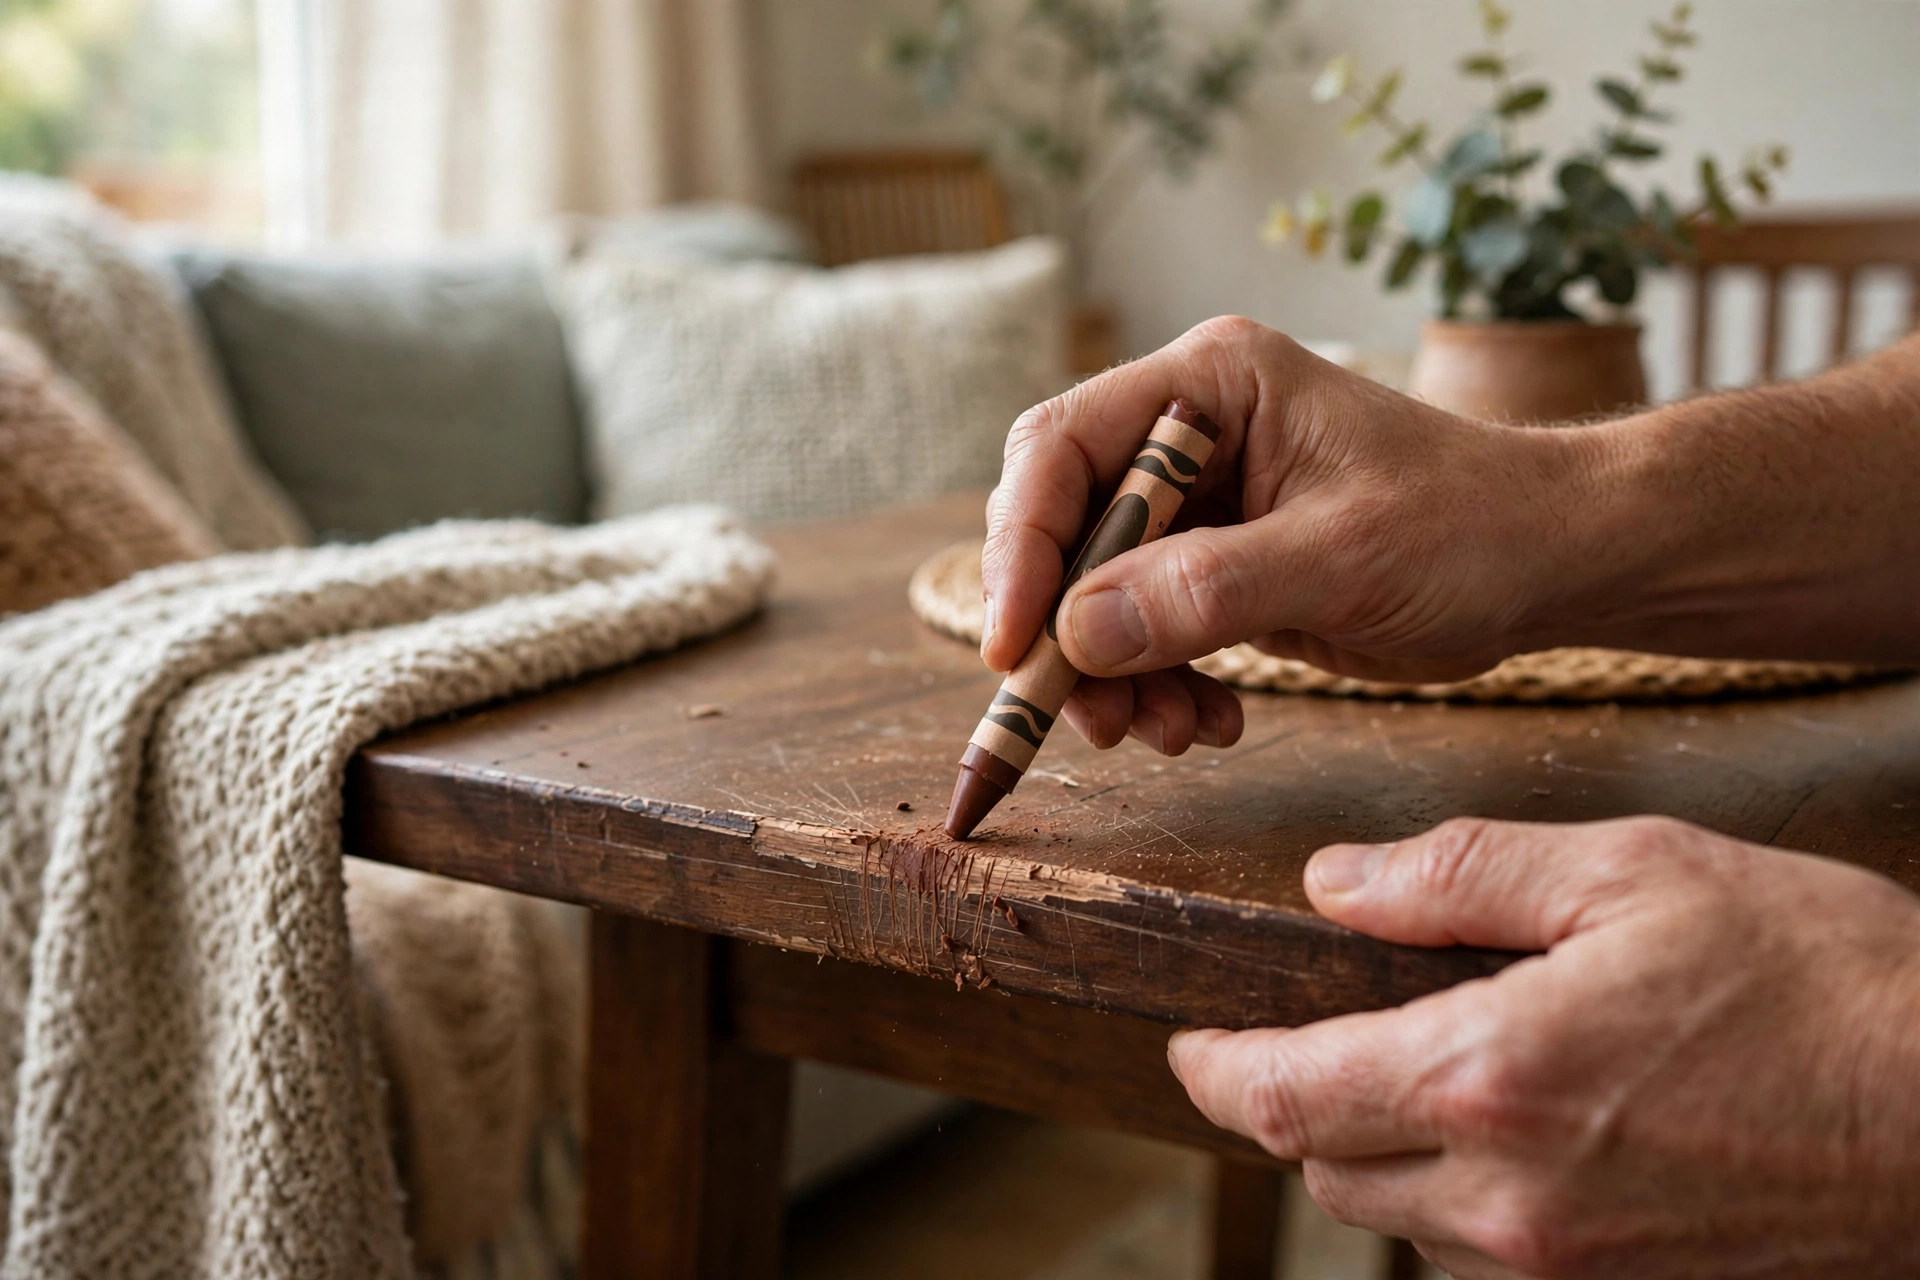
For the deep toy-truck gouge, markers were not enough — the groove was too deep and the color sank in. A set of hard-wax wood repair crayons in twelve colors cost $9 and did the job the markers could not.
Warm the crayon tip with a hair dryer for about ten seconds to soften it, then press it across the gouge so wax fills the groove slightly proud of the surface. Level it with an old credit card held flat, then buff with a soft cloth. The wax takes the color of the crayon and the scratch disappears at normal viewing distance.
Two honest caveats. First, on a tabletop that gets wiped down often, wax repairs wear over months — plan on a thirty-second touch-up a couple of times a year. Second, use them on edges and legs without worry, but do not use wax crayons directly on a food-contact surface like a cutting board.
Method 3: The Walnut Trick and Other Home Remedies, Honestly Tested
The internet is full of kitchen-cabinet wisdom about scratch repair, so I tested the famous ones on scrap boards before letting them near my table. Honest results:
The walnut trick. Rubbing a halved walnut across a scratch deposits dark oils into the wood. On a light oak board it darkened the scratch noticeably — a decent free fix for pale wood. On my dark walnut table it did almost nothing. Verdict: worth trying only on light wood.
Coconut oil. Made the scratch shiny for about a day, then attracted dust and looked worse. Skip it.
Tea bags. Strong black tea brushed onto bare wood gives a mild amber tint, but it went on unevenly and barely touched the scratch. Too fussy for what you get.
Vinegar and olive oil. A one-to-one mix on a cloth did a fair job of masking scratches in medium-dark finishes, and it lasts longer than plain oil. It is not permanent, but it is a reasonable zero-cost camouflage for scratches you can live with anyway.
Method 4: Spot Staining to Remove Scratches from Wood Furniture That Hit Bare Wood
When a scratch exposes pale bare wood and a marker cannot build enough color, it is time for spot staining. My supplies: a two-ounce bottle of matching wood stain ($14), a small artist’s brush ($4), painter’s tape, and a tack cloth — about $18 total.
Tape around the scratch so stain does not bleed onto the good finish. Feather the stain into the bare wood with the brush, following the grain direction. Wait five to ten minutes, wipe the excess, and let it dry for a day. Then seal the spot with a dab of paste wax or a wipe of polyurethane on a cloth — unsealed stain will wear fast.
The deep gouge on my coffee table leg went from “every guest notices it” to “I have to point it out.” For a scratch that a marker cannot cover, $18 and forty minutes is a bargain.
The Real Math: Remove Scratches from Wood Furniture for $6 or $638
Here is every method ranked by cost, with the professional option for comparison:
- Furniture touch-up markers: ~$6. Fixes 80% of everyday scratches. Start here, always.
- Wood repair crayons: ~$9. Fills gouges your fingernail catches.
- Spot stain kit: ~$18. Covers scratches that hit bare wood.
- Full DIY sand-and-refinish: ~$39 in materials (220 and 320-grit sandpaper, tack cloth, stain, polyurethane). Half a weekend of work, but a whole tabletop comes back like new.
- Hiring a pro: $638 national average in 2026, with most homeowners spending between $341 and $939, according to Angi’s September 2026 cost data from over 2,700 verified projects. Dining tables specifically run $400 to $1,200. The same Angi guide puts DIY refinishing materials at just $50 to $200.
Do the division: the professional average costs more than one hundred times the $6 marker that fixed my table. When does the pro make sense? On antiques or heirlooms you cannot replace, when scratches cover the entire top, or on thin veneer where one wrong sanding pass ruins the piece. My rule of thumb: if the piece cost less than $300 new — like most of the dining sets in my house — DIY always wins the math. If it is your grandmother’s table, call the professional.
How I Keep Wood Furniture Scratch-Free Now
Fixing scratches taught me that prevention is wildly cheaper. My current routine:
- Felt pads under everything that touches wood — a bag of a hundred costs about $8 and I replace the ones under dining chairs yearly, because worn pads are how new scratches happen.
- Table runners and placemats as the default, not just for guests. A $3 coaster beats a $638 refinish.
- The lift-don’t-drag rule, taught to the kids with the same energy as “look both ways.” Plates, laptops, and toy trucks get lifted.
- Pet nails trimmed monthly — the cat has her $288 wooden cat tower to destroy, not the table legs.
- Wipe spills quickly on any spot you repaired with wax or stain, since touch-up repairs are less sealed than the factory finish.

My verdict after three weeks and six methods: start with the $6 marker, not the sander. About ninety percent of everyday scratches are finish-level or color-level and die at Method 1 or 2. Reserve stain for the bare-wood spots, and the professional for pieces you cannot replace. My dining table took a marker plus one wax fill, and the morning sun no longer finds the wound — my daughter’s dump truck has been rerouted to the rug.
If your table is scratched past what repair can save, or you want a piece that forgives daily life better, solid wood repairs far more gracefully than veneer — my material comparison explains why. And if you are shopping, FLNORW MALL stocks solid wood tables worth investing in; this $322 dining set is the one I would buy today for a young family that needs forgiveness.