Winterize Chicken Coop: My November Checklist
Halloween is over, the porch pumpkins are headed for the compost, and my weather app just showed me an overnight low in the low 30s. That number is my annual alarm bell: it is time to winterize the chicken coop. What follows is the winterize chicken coop checklist I run every November — one Saturday afternoon, about sixty dollars in supplies, and a flock that reaches March healthy. Done late, it costs you frozen waterers, frostbitten combs, and a February egg count of zero.
Here is what took me a full season to internalize: chickens are tougher than they look. A healthy, fully feathered hen handles temperatures well below freezing — her down coat is serious insulation. What hurts birds in winter is rarely the thermometer reading. It is damp air, wind at roost level, and frozen water. November is the sweet spot for the work because everything is still pleasant to do: caulk sticks, straw is dry, and you can stand in the run in a jacket instead of a parka. I do mine the first weekend after Halloween, every year.
I am a second-year keeper, not an expert. I bought a $288 walk-in backyard chicken coop last spring — 10 feet long, 13 wide, 6.4 tall, 1.26-inch galvanized steel, 210D Oxford cover — and learned the seasonal half of the job the way everyone does: by reading, asking, and fixing mistakes before the hens paid for them. This is the November checklist I run now, in the order I actually do it.
The 7-Step Winterize Chicken Coop Checklist
Here is the whole job, in order. Steps one through four are non-negotiable. Steps five through seven are the difference between surviving winter and thriving through it.
- Vent check above roost level. Open every vent and confirm air can exit near the roof. Ammonia and moisture rise. If your only vents are at bird level, you have a draft problem, not a ventilation system.
- Draft seal at bird level. Patch wall gaps where wind hits the roost directly. Ventilation goes up and out; wind should never blow sideways across sleeping birds.
- Fresh deep bedding. Strip the summer bedding, lay 4 to 6 inches of fresh pine shavings, and plan to stir and top it monthly. Dry bedding is insulation.
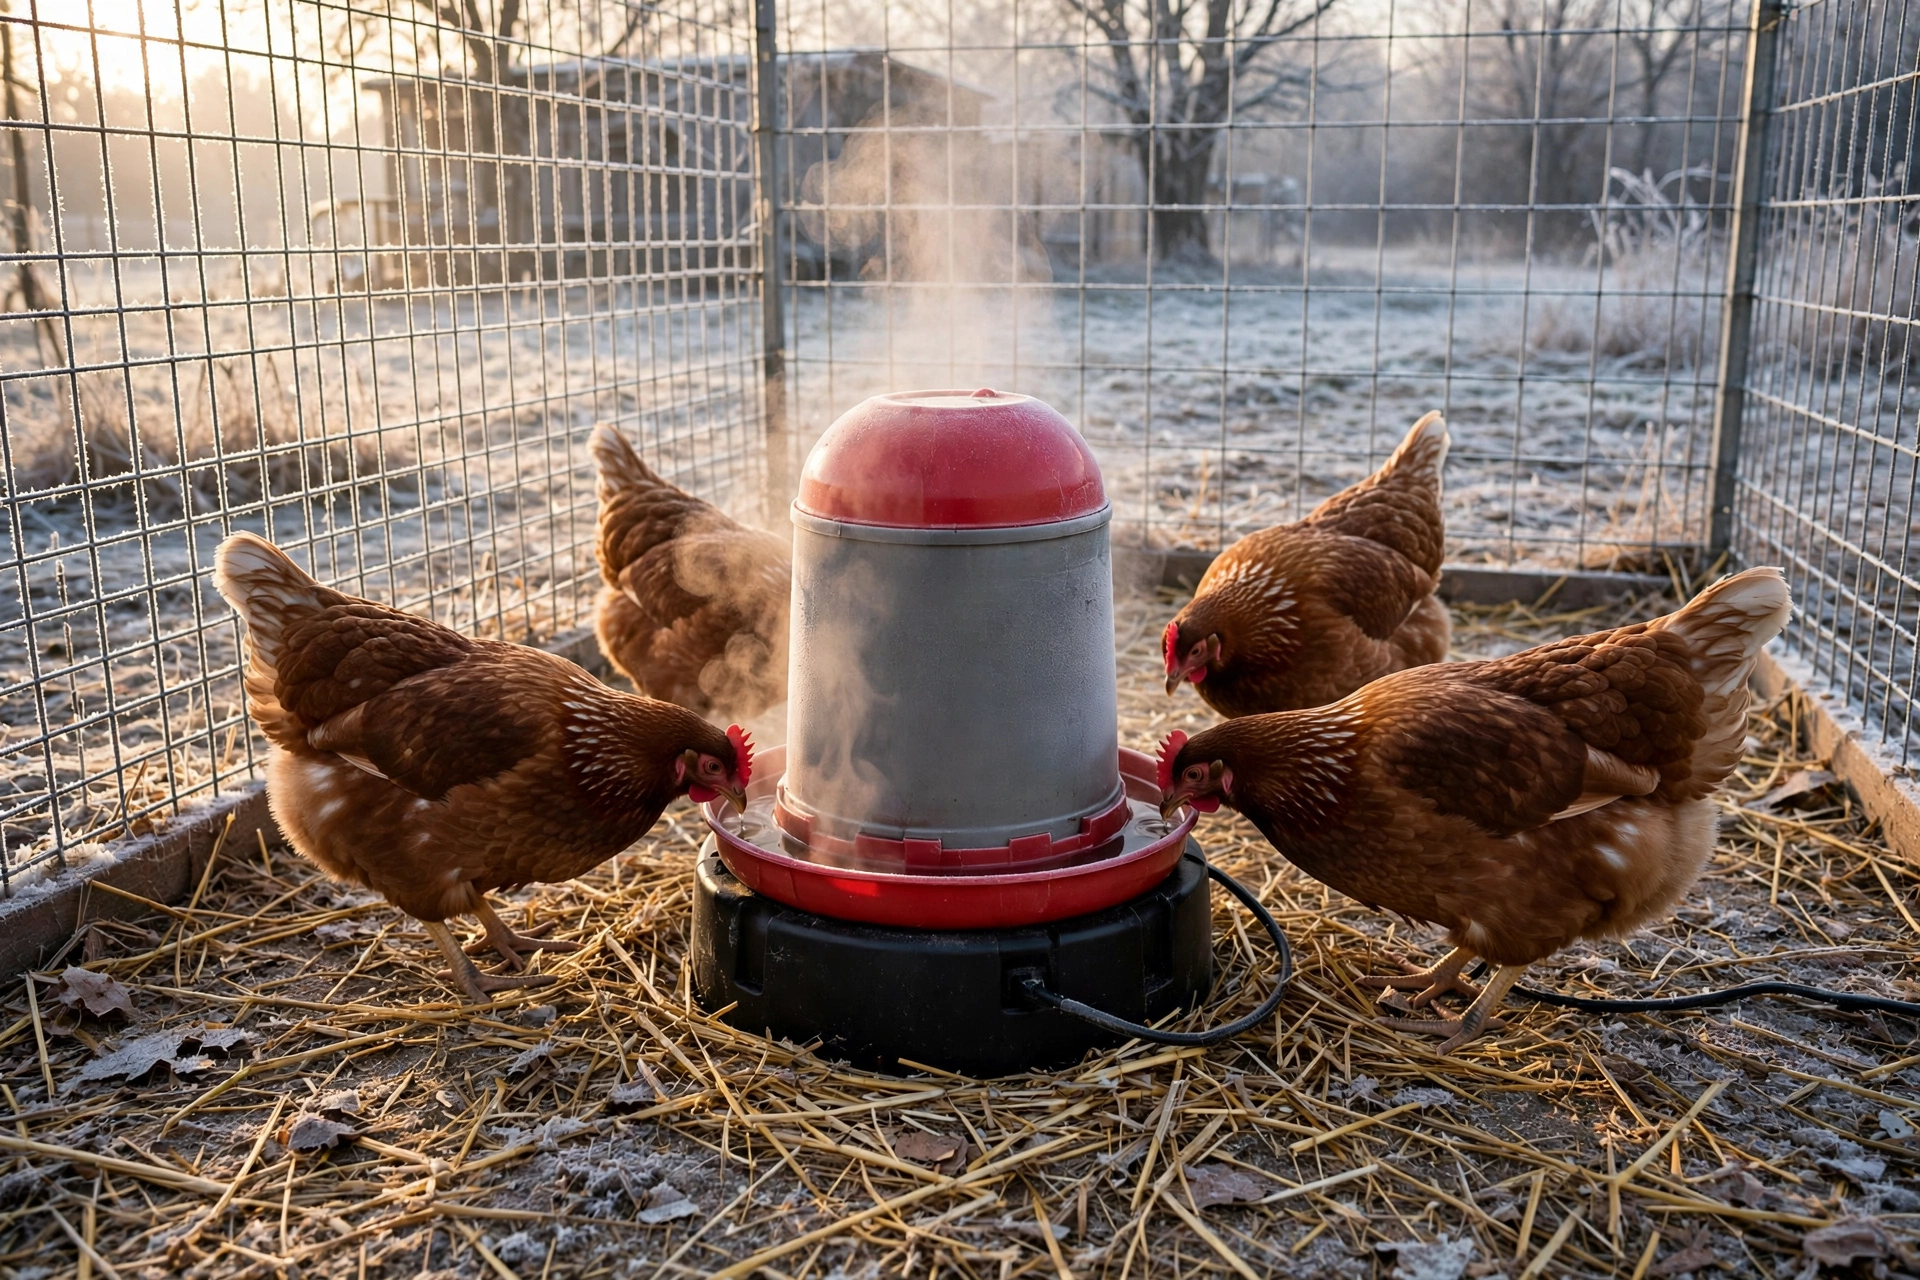
- Heated waterer in, hoses drained. Install the heated waterer now and test it on a 35-degree night. Drain and coil any garden hose you will not touch until March.
- Feed bump and rodent-proof storage. Increase feed slightly and move it all into metal bins with lids. Hungry winter rodents chew through bags and plastic.
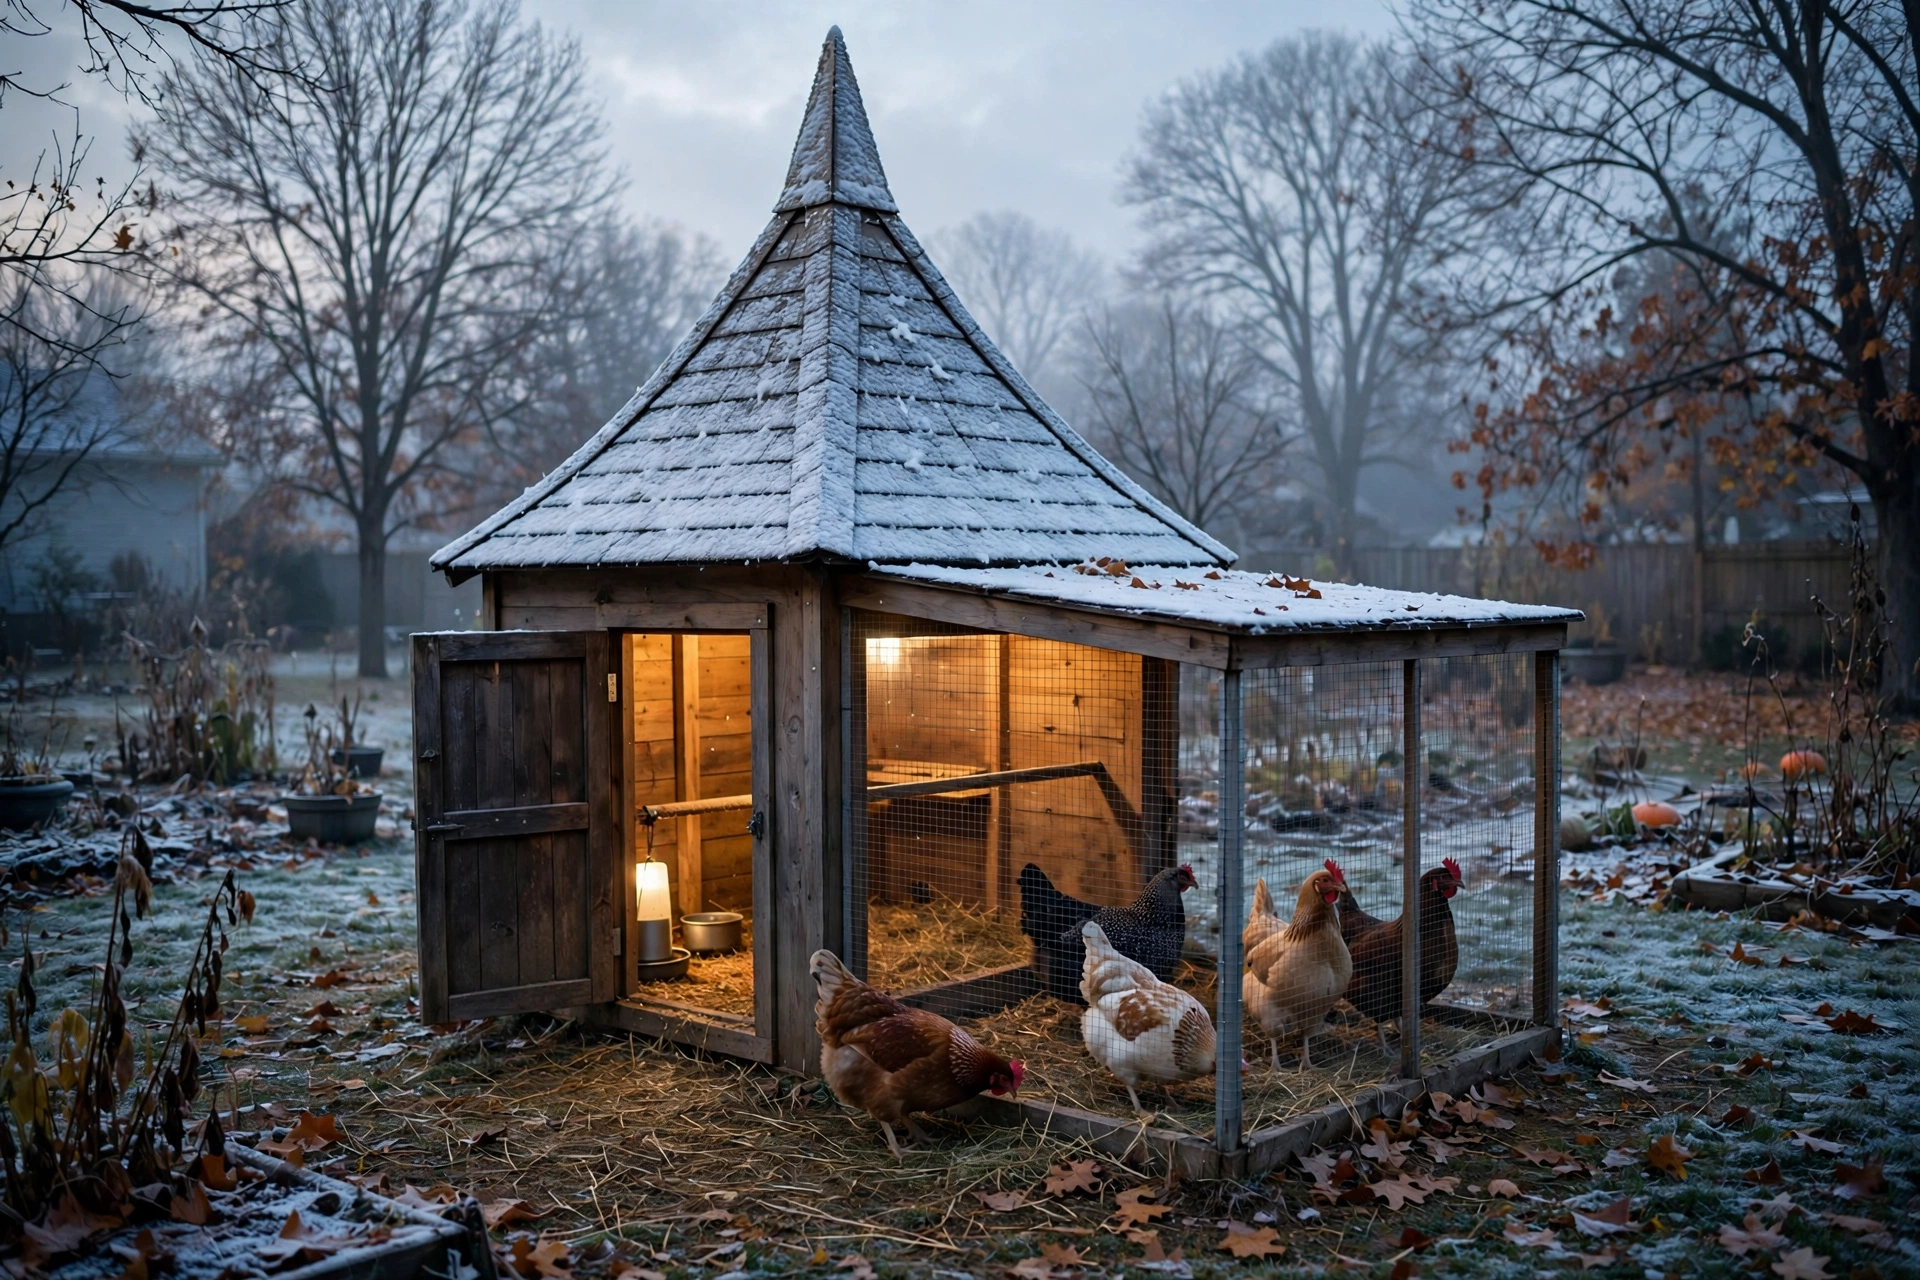
- Run cover plan. Decide what happens to the run roof before the first heavy snow. On my walk-in, the 210D Oxford cover comes off and goes into the garage — my practice, not a manufacturer rating.
- Predator winter check. Hungry predators get bold in winter. Re-pin the wire apron, upgrade tired latches, and walk the full perimeter once.
Ventilation: The Winter Rule Most Beginners Get Backwards
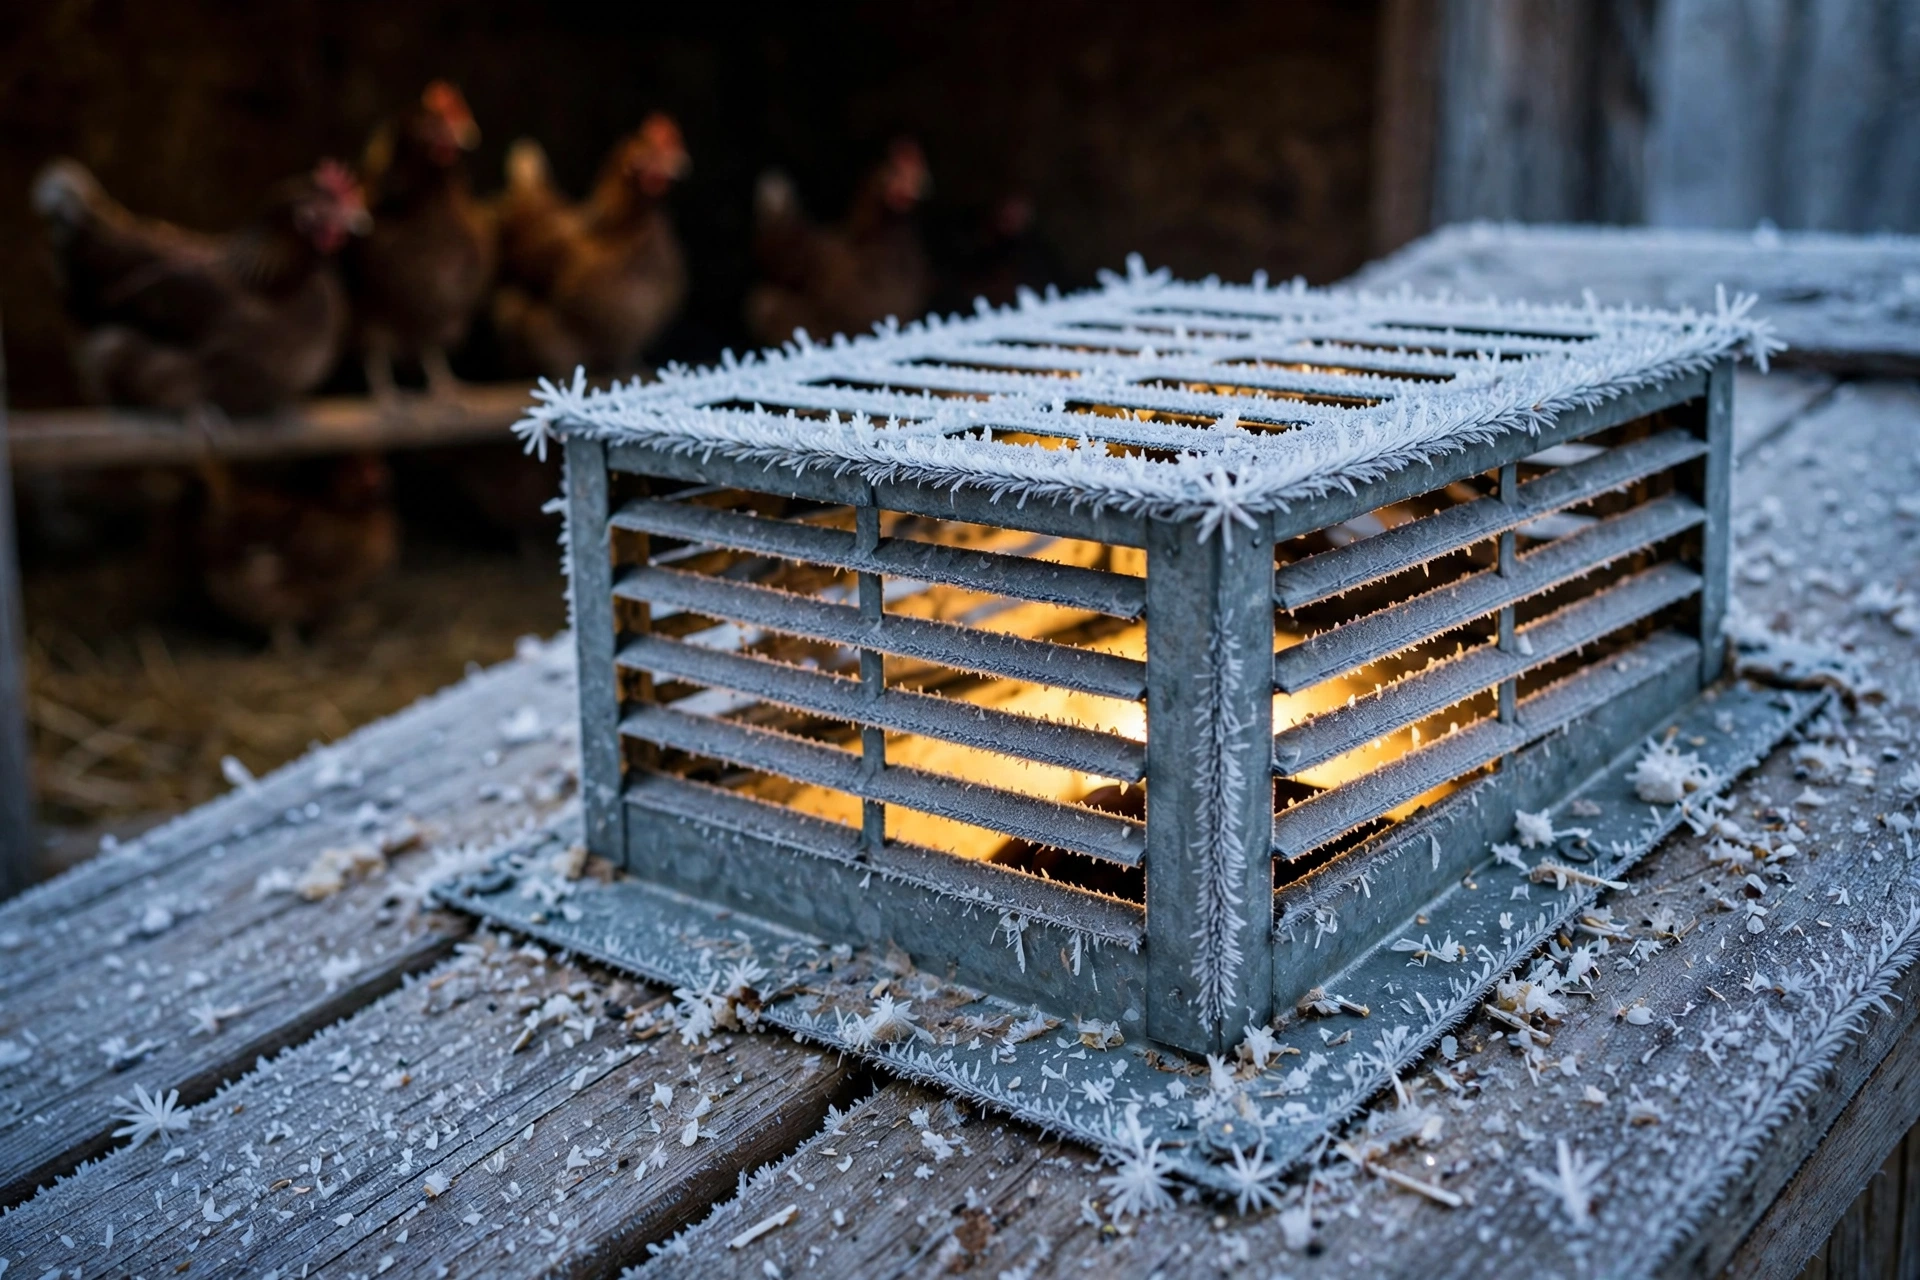
The most common winter mistake is sealing the coop up tight. It feels caring. It is the fastest route to frostbite. Six hens breathing and dropping all night pump a shocking amount of moisture into the air, and damp air plus cold is what freezes combs — not cold alone. A ventilated coop at 20 degrees with dry air beats a sealed coop at 30 degrees with condensation dripping off the roof.
The rule of thumb repeated across poultry guidance is roughly one square foot of vent space per bird, positioned above roost height so moist air exits without crossing the birds. I treat that as a rule of thumb, not engineering. My walk-in’s 6.4-foot peak is a real asset: 130 square feet of floor under a tall roof holds a big volume of air, so ammonia dilutes instead of hanging at beak level. In a small wooden hutch, six birds breathe each other’s exhaust all night — one more reason I bought the height.
Frostbite: Combs, Wattles, and the Petroleum Jelly Question
Frostbite hits combs, wattles, and toes, in that order. Big-combed breeds like Leghorns are the most vulnerable; pea-combed birds barely notice January. The honest hierarchy: dry air first, wind protection second, everything else a distant third.
You will read everywhere that petroleum jelly on combs prevents frostbite. My honest take after one winter: the evidence is thin, it is messy, and it never replaces ventilation. I still dab it on nights forecast below 15 degrees — ninety seconds, and I sleep better. If you see blackened comb tips, leave them alone. The tissue demarcates and heals. And skip the heat lamp: heat lamps are a leading cause of coop fires, and a bird acclimated to 60 degrees is in real trouble when the power fails at 10.
Water: The Heated Waterer Math
A hen drinks roughly twice as much water as feed by weight, and she cannot drink ice. A frozen waterer is not an inconvenience; it is a no-water day. In deep winter that means hauling jugs twice daily, chipping ice, and still finding a solid block at dusk.
Most heated poultry waterers draw roughly 60 to 130 watts — a range, since models vary and I metered none of them. Take 100 watts around the clock: 2.4 kilowatt-hours a day. At the EIA’s 2024 average residential price of about $0.17 per kWh, that is roughly $0.41 a day, or about $37 for a three-month deep winter — my rough estimate. Compare that to two parka-clad water runs a day for ninety days. The heated waterer is the cheapest labor I buy all year. Buy it in November while it is in stock; after the first freeze, the shelf is empty.
Feed and Light: Why the Egg Math Changes in December
Nobody told me my first year: daylight drives laying. Hens need roughly 14 to 16 hours of light a day to hold peak production — the standard rule of thumb. December gives most of the US about 9 to 10 hours. That gap is the winter egg slump: fewer eggs, smaller eggs, longer gaps.
You have two honest options. Accept the slump as the flock’s natural rest — mine dropped from five eggs a week each to two or three, and I bought store eggs for the first time in months. Or add supplemental light on a timer to hold 14 hours, usually early morning. It works, but once you start, stopping mid-winter stresses the birds. I rested mine year one and added a timer year two. The only wrong move is being surprised.
Feed goes up regardless. Digestion generates body heat, so hens eat more — roughly 25 percent more is what I plan around, my rough estimate. I toss scratch grains in the late afternoon; a full crop going into a cold night is a furnace until morning. With egg prices having peaked around $6.22 a dozen in March 2025 (USDA Economic Research Service), every winter egg is worth protecting. Backyard flocks are no fringe hobby now — the USDA’s APHIS survey found 6.7% of US adults keep poultry, and the American Pet Products Association counted about 11 million households in 2025.
Winterize Chicken Coop Run: My Snow Plan
The run needs its own plan. On my walk-in, the spire-shaped 210D Oxford cover sheds light snow beautifully. But it is fabric, not a barn roof, and the product page makes no snow-load claim — so I make none either. The cover comes off before the first heavy snow and winters in the garage. Ten minutes to protect a $288 purchase.
Cover off, the run becomes an open-air winter yard: I shovel a path to the coop door, scatter straw over muddy spots, and check the pop door swings free after every snowfall. Inside I run deep litter — 6 inches of pine shavings, stirred weekly, topped monthly. The composting action adds a little warmth and keeps the floor dry. Come spring, it all goes to the garden beds.
Metal Walk-In vs Wooden Hutch in January
Winter is where the two coops I compared last spring diverge. The $288 walk-in wins on air volume and serviceability: the tall roof vents moisture, 130 square feet keeps droppings dilute, and I walk in upright in January to rake and refill without kneeling in slush. Steel gets cold to the touch, but still air in a big volume matters more than wall temperature.
The $178 solid wood hutch — 35 by 21 by 25 inches of kiln-dried fir — wins on insulation per cubic foot. For two or three bantams, or as a hospital cage, it is arguably the better winter buy. Six full-size hens in 5 square feet all winter makes the moisture math ugly. Buy the hutch for a trio, the walk-in for a flock, and winterize whichever you own.
The Verdict
Winterizing a chicken coop is not a construction project. It is a Saturday of small, boring, correct decisions: vents open up high, drafts sealed down low, dry bedding underfoot, liquid water guaranteed, feed secured, and a snow plan made before the snow. My first November took about four hours and roughly sixty dollars — straw, shavings, a heated waterer, and metal feed bins I should have bought in spring.
The payoff is a flock that reaches March healthy, combs intact, laying again as days lengthen. Chickens do not need a heated palace. They need dry air, liquid water, and a keeper who did the work in November instead of wishing for it in February.
Getting your first coop before winter? Read my $288 walk-in chicken coop beginner’s review, then compare it with the $178 solid wood chicken coop if you are starting with two or three birds. The walk-in metal coop product page has the full spec sheet, my outdoor storage shed buying guide covers where I keep the feed bins and straw, and the full FLNORW MALL collection has the rest of the backyard.